 Semiahmoo Siding
 Siding Installation Built for Laurel's Climate
Laurel homes sit in one of the more demanding siding environments in the state. Whatcom County's marine climate means near-constant moisture exposure, salt-laden air drifting in off the Salish Sea, and long stretches of the year when surfaces simply never fully dry out. That combination is hard on exterior building materials in ways that don't show up in a showroom or a sales brochure — it shows up five, ten, and fifteen years later, in the form of swollen panels, peeling paint, soft trim, and moss creeping up from the ground line.
When we talk about "siding installation" in Laurel, we're not just talking about attaching boards to a wall. We're talking about building a moisture-management system that has to perform through decades of driving rain, salt air, and a moss season that can run most of the year. The product you choose and the way it's installed both matter — and one without the other isn't enough.
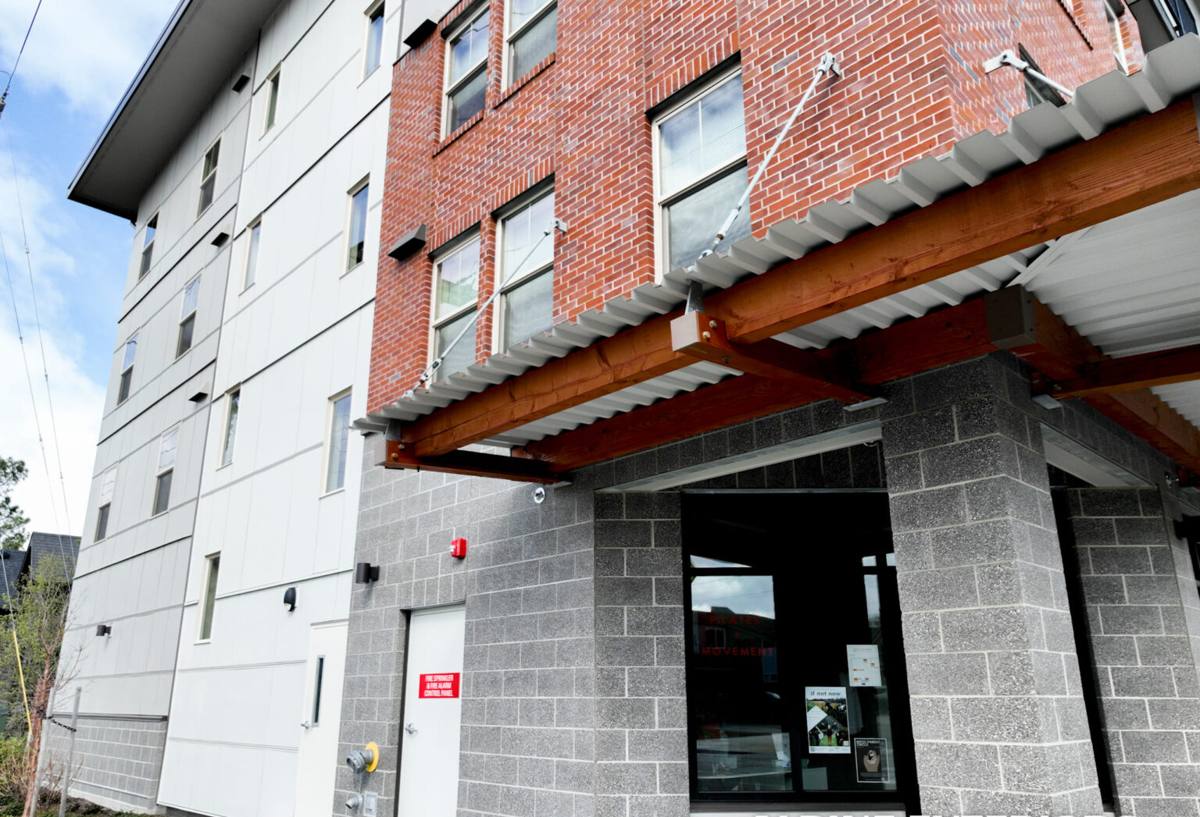
What Correct Siding Installation Actually Involves
Siding failures in this region are rarely caused by bad siding material alone. Far more often, they trace back to installation shortcuts — the parts of the job that don't show once the house looks finished. A correct installation addresses several layers most homeowners never see:
Water Management Behind the Siding
Every wall assembly needs a drainage plane — a weather-resistant barrier and, ideally, a rainscreen gap that lets any moisture that gets behind the siding drain and dry out instead of sitting against the sheathing. In a climate like ours, skipping this step isn't a minor shortcut; it's the single biggest reason siding jobs fail early.
Flashing at Every Penetration
Windows, doors, hose bibs, light fixtures, deck ledgers — every place something interrupts the siding is a place water can get in if it isn't flashed correctly. Caulk is not flashing. Caulk fails; properly lapped flashing keeps working even after the caulk eventually does.
Fastening and Clearances to Manufacturer Spec
Fiber cement siding has specific fastening patterns, nail penetration requirements, and minimum clearances from grade, roofing, and decks. Installed too tight to the ground or too close to a roofline, even the best siding product will wick moisture and fail well before its expected lifespan.
Proper Field-Cutting and Sealing of Cut Edges
Fiber cement panels are factory-sealed on the face, but cut edges need to be primed and sealed on site. Left raw, a cut edge is an entry point for water — a detail that's easy to skip and impossible to see once the house is painted.
Get any one of these wrong and it doesn't matter how good the siding product is. This is why we treat installation quality as equal in importance to product selection — and why we don't subcontract the parts of the job that are easy to rush.
Why We Install Only James Hardie Fiber Cement Siding
We install James Hardie fiber cement siding exclusively. We don't offer vinyl, LP SmartSide, Cemplank, Allura, primed spruce, or cedar as options — not because those products have no place in the market, but because after years of working on homes in this climate, we've settled on one system we're willing to stand behind fully.
Fiber cement is non-combustible and dimensionally stable, meaning it doesn't expand and contract with moisture the way wood-based products do, and it doesn't soften or delaminate the way some engineered wood siding can if a seam or cut edge is exposed to sustained moisture. James Hardie's ColorPlus factory finish is baked on under controlled conditions rather than field-painted, which matters in a region where painting windows are short and humid. And Hardie's HZ5 product line is engineered specifically for climates like ours — cold, wet, freeze-thaw prone — rather than for the hot, humid Southeast market its HZ10 line targets.
Vinyl is inexpensive and low-maintenance, but it's also a poor match for a region with strong storm winds and temperature swings — it can crack, warp, or blow off in gusts, and it can't be painted to refresh a home's look later. LP SmartSide and other engineered wood products perform well when installation and maintenance are perfect, but they rely on an intact factory coating and diligent caulk maintenance to keep moisture out of the wood strand core — a maintenance burden that's harder to keep up with in a climate this wet. Primed spruce and cedar are beautiful but need real upkeep — refinishing, caulk checks, moisture monitoring — to hold up here long-term. We'd rather install one product exceptionally well than offer five and cut corners on any of them.
How We Install Siding on Laurel Homes
1. On-Site Inspection and Assessment
We start by walking the exterior and, where relevant, checking the wall assembly for existing moisture damage — rot at the base, staining, soft trim, failed caulk lines. This tells us what's underneath the current siding and whether any sheathing or framing repair is needed before new siding goes on.
2. Prep and Tear-Off
Old siding, trim, and any compromised building paper or house wrap comes off. Damaged sheathing gets replaced — installing new siding over rotten sheathing just hides a problem that will resurface.
3. Weather-Resistant Barrier and Drainage
A new weather-resistant barrier goes on, with flashing detailed at every window, door, and penetration before a single piece of siding is hung. Where the assembly calls for it, we build in a drainage gap so any incidental moisture has somewhere to go.
4. Installation to Manufacturer Spec
James Hardie siding goes up following Hardie's published fastening schedules and clearance requirements — correct nail spacing and penetration, proper gaps at grade and roof intersections, and sealed cut edges throughout.
5. Trim, Caulk, and Touch-Up
Trim work is finished, seams are caulked with a quality exterior-rated sealant, and any factory-finish touch-up is completed with matched ColorPlus product.
6. Final Walkthrough and Cleanup
We walk the finished job with the homeowner, and the site is cleaned of debris, old materials, and fasteners before we consider the job done.
Common Siding Problems We See on Homes in This Area
Because Laurel sits within Whatcom County's marine climate belt, certain failure patterns show up again and again on older or improperly installed siding:
- Moss and algae growth along north-facing walls and areas with limited sun exposure, which retains moisture against the siding surface longer than it should sit.
- Caulk failure at trim joints and window flashing, which is often the first sign that water is starting to get behind the siding.
- Soft or delaminating siding near grade, usually from siding installed with insufficient clearance from soil, mulch beds, or hardscaping.
- Paint failure and peeling on field-painted wood or engineered wood siding, driven by repeated wet-dry cycling through the fall and winter.
- Corrosion at fasteners and metal flashing in areas closer to salt-influenced air, which can accelerate over time if the wrong fastener material was used.
None of these are unusual or a sign of a poorly built home — they're simply what this climate does to a wall system that isn't detailed to handle it. The point of correct installation is to design around these pressures from the start rather than repair them later.
What Affects the Scope and Cost of a Siding Installation
Every home is different, and a written estimate after an on-site visit is the only way to get real numbers. But the factors that typically move scope and cost look like this:
| Factor | Why It Affects the Project |
|---|---|
| Home size and number of stories | More wall area and taller elevations mean more material, more staging, and more labor time. |
| Tear-off vs. installing over existing siding | Removing old siding adds labor but allows inspection and repair of the sheathing underneath — often the right call on older homes. |
| Amount of trim, corners, and openings | Homes with more windows, doors, and architectural detail require more cutting, flashing, and finish work. |
| Condition of the sheathing and framing | Hidden moisture damage found during tear-off may require repair before new siding can go on correctly. |
| Siding profile selected | Lap siding, shingle-style panels, and vertical panel systems each have different material and labor requirements. |
| Color and finish selection | Standard ColorPlus color options versus custom or premium finishes can shift material pricing. |
Choosing a Contractor Who Actually Works This Area
A contractor who regularly works in Laurel and the broader Semiahmoo area already understands how the local climate behaves — which wall orientations take the worst weathering, how long moss takes to establish, where driving rain tends to concentrate against a structure. That's not something you can fully substitute with a generic install checklist. It comes from having done the work here, on homes exposed to the same conditions yours faces.
Before hiring anyone for a siding installation, it's worth asking:
- Are you licensed and insured to do exterior work in Washington State?
- Will you inspect and repair sheathing damage if it's found during tear-off, or just cover it up?
- What weather-resistant barrier and flashing details do you use, and will you show me before siding goes on?
- Do you follow the manufacturer's published fastening and clearance specifications?
- Can you provide a written scope and estimate before work begins, not just a verbal quote?
- How do you handle the manufacturer's product warranty and your own workmanship warranty?
A contractor who answers these clearly and specifically — rather than vaguely — is one who's done this enough times in this climate to know exactly what matters.
Caring for Your Siding After Installation
James Hardie fiber cement is low-maintenance compared to wood or engineered wood siding, but "low-maintenance" doesn't mean "no maintenance" — especially in a climate that grows moss on almost anything left alone long enough. A little routine attention keeps siding performing for its full expected lifespan:
- Rinse the exterior periodically to keep moss, algae, and organic debris from building up, particularly on shaded or north-facing walls.
- Keep gutters clear so overflow isn't running down the siding face repeatedly.
- Trim back plantings and mulch beds so siding maintains proper clearance from grade and vegetation.
- Check caulk lines at trim and penetrations every year or two, and have any cracked or failing caulk replaced promptly.
- Address any impact damage or chipped finish quickly rather than letting it sit exposed.
Done consistently, this is a modest amount of upkeep compared to what wood or engineered wood siding demands in this same climate.
Get a Free, No-Pressure Estimate
If you're weighing a siding project for your Laurel home, we're glad to walk the exterior with you, point out anything worth addressing, and give you a straightforward, written estimate — no pressure, no sales script. Use the form below to get started.