 Semiahmoo Siding
 Building New in Lynden: Windows Have to Be Right the First Time
New construction gives you one real shot at getting window installation right. On a replacement job, you're working with what's already there and doing your best to seal around an existing rough opening. On a new build in Lynden, the rough openings, the water-resistive barrier (WRB), the flashing sequence, and the window itself all get built together — which means there's no excuse for a sloppy install, and no easy fix later if it's done wrong. A window that's flashed out of sequence or sealed with the wrong materials can look perfect for a year or two before the first signs of water intrusion show up inside a wall cavity where nobody's looking.
We install new-construction windows for builders, remodelers, and owner-builders working on lots around Lynden and the surrounding Whatcom County countryside. Whether it's a single custom home or a handful of units on a small development, the same principles apply: the window is only as good as the opening it sits in and the flashing that ties it into the wall assembly.
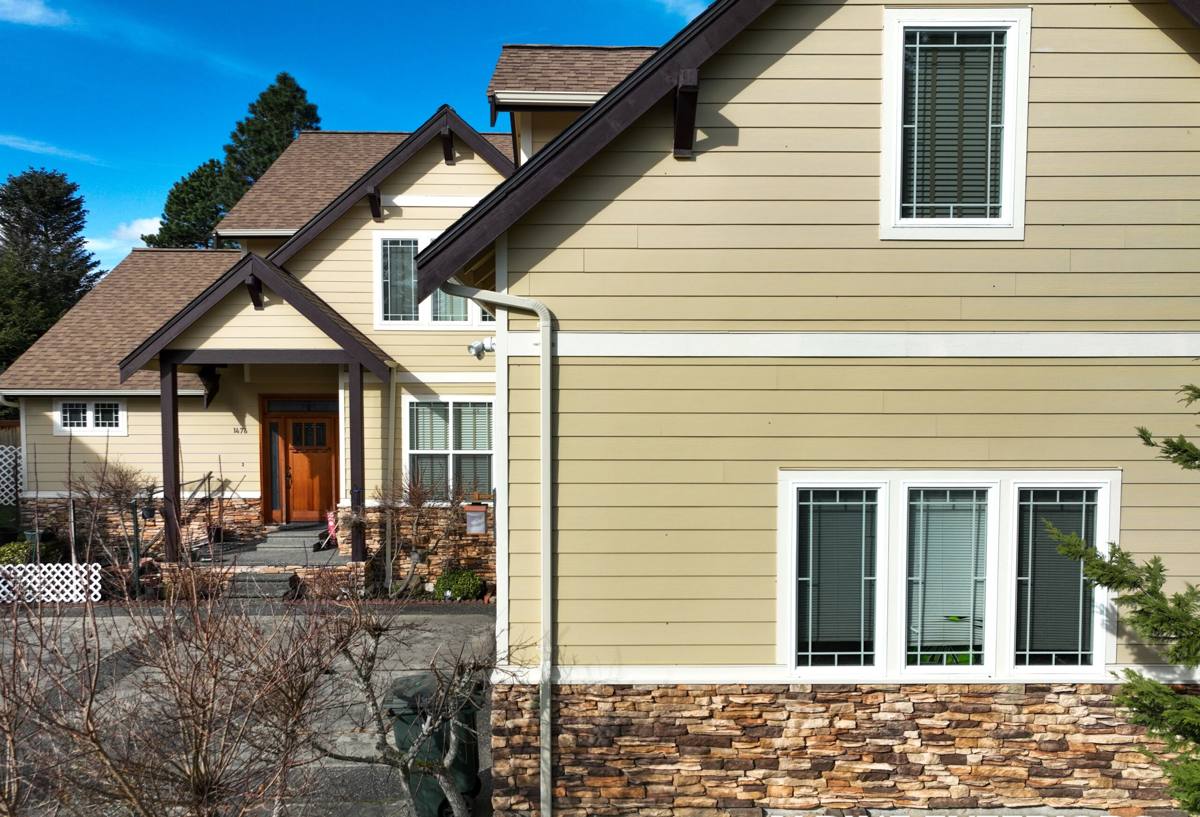
What Lynden's Climate Actually Does to a Window Opening
Whatcom County sits right up against the Salish Sea and gets weather off it — driving rain that comes in sideways during fall and winter storms, long stretches of damp, low-sun days that keep everything wet longer than homeowners from drier climates expect, and a moss season that can run half the year on shaded north- and west-facing walls. Add proximity to salt water and you get airborne salt that accelerates corrosion on cheap fasteners, uncoated flashing, and lower-grade hardware.
None of that is exotic information to anyone who's lived here a while, but it matters a lot at the framing and window stage of a build, because:
- Driving rain finds any gap in a WRB or flashing lap and pushes water uphill, not just down — reverse laps or missing sill pans fail here in ways they wouldn't in a calmer, drier climate.
- Long wet seasons mean sheathing and framing lumber around a window opening can stay damp for weeks if the opening isn't sealed and protected promptly during the build.
- Moss and algae growth on north-facing walls holds moisture against siding and trim near window openings, which is a slow but steady stress test on whatever sealant and flashing details are underneath.
- Salt-laden air corrodes unprotected steel fasteners and lower-grade window hardware faster than most manufacturers' generic spec sheets account for.
A window that's correctly detailed for this climate is built to shed water at every layer — not just rely on caulk as a last line of defense. That's the standard we hold every new-construction install to.
New-Construction vs. Replacement: Why the Job Isn't the Same
It's worth being clear about this distinction because homeowners and even some builders use the terms loosely. A new-construction window has a nailing fin and gets installed into an open stud bay before siding goes on, integrated directly into the WRB and flashing system. A replacement (or "insert") window goes into an existing frame, often without disturbing the exterior finish. The two require different skills, different sequencing, and honestly different mistakes to avoid.
On new construction, the risk isn't a badly fitted insert — it's a broken water management chain. If the sill pan isn't sloped and lapped correctly, if the WRB isn't integrated with the flashing tape in the right shingle-lap order, or if the nailing fin isn't sealed on the sides and top but left open at the bottom (as it should be, to let any incidental water drain out), the wall behind that window is compromised before drywall ever goes up. This is why we treat new-construction window installation as a distinct trade skill, not just "hanging windows."
What a Correct Install Sequence Looks Like
- Rough opening is checked for square, level, and correct dimension against the window's actual manufactured size (not just the spec sheet number).
- A sloped sill pan is installed at the bottom of the opening so any water that gets past the window drains outward, not into the framing.
- WRB is cut and integrated in the correct shingle-lap order — house wrap laps over the top flashing, side and top flashing laps over the window fin, bottom is left unsealed for drainage.
- Window is set, shimmed for level and square, and fastened per the manufacturer's schedule — not just "however many screws fit."
- Interior and exterior sealant is applied at the right points only — sealing every gap on all four sides traps water instead of letting it drain, which is one of the most common mistakes we see corrected on other builders' work.
- Flashing tape and any housewrap patches are pressed and rolled for full adhesion, especially in cooler, damp weather when tapes don't stick as well without care.
Window Types We Install and How They Hold Up Here
Material choice matters less than installation quality, but it's not irrelevant — especially with salt air and long wet seasons in the mix. Here's how the common options compare for a Lynden-area new build:
| Window Type | Moisture/Salt Air Behavior | Maintenance | Typical Fit |
|---|---|---|---|
| Vinyl | Good — won't corrode or rot; seams and welds are the weak point if quality is low | Low | Most standard new builds; best value |
| Fiberglass | Excellent — dimensionally stable, resists moisture and salt exposure well | Low | Higher-end builds, larger openings, exposed elevations |
| Wood-clad | Depends entirely on cladding integrity — a breach in the exterior clad layer exposes wood to rot in this climate | Higher — clad seams and any exposed wood need monitoring | Traditional or custom-look homes where owners accept the upkeep trade-off |
| Aluminum | Poor thermal performance and prone to condensation in our damp winters unless thermally broken | Moderate | Rarely our first recommendation for residential new construction here |
We don't push one brand or material on every job — the right call depends on the elevation's sun and rain exposure, the builder's spec, and the owner's budget. What we won't do is install a product in a location where its known weak points (like an exposed wood-clad sill on a west-facing wall that takes the brunt of driving rain) set it up to fail early. That's a maintenance-burden and moisture-behavior conversation we'll have with you honestly before the windows ever arrive on site.
How We Work New-Construction Jobs in Lynden
1. Plan Review
Before anything is ordered, we go through the window schedule and rough opening dimensions against the actual plan set. Catching a sizing or swing-direction error on paper is a lot cheaper than catching it after framing is already up.
2. Coordination With the Builder's Schedule
New-construction windows go in at a specific point in the framing sequence — after sheathing and WRB, before siding. We work around the general contractor's timeline rather than the other way around, which matters on active job sites where trades are stacked tight.
3. Install and Flashing
Every opening gets the same sequence: sill pan, WRB integration, window set and fastened, flashing, sealant only where it belongs. We don't vary this by "how it usually goes" — every opening on a house gets checked individually because framing tolerances aren't always identical from bay to bay.
4. Documentation and Walkthrough
We walk the openings with the builder or owner before siding closes them up, since that's the last point where a flashing issue is visible and easy to correct. Once siding's on, that same fix means removing finished work.
What This Actually Costs
New-construction window installation is typically priced per opening, with the total driven by window size, material, and site access. Rough, honest ranges for the Whatcom County market:
| Factor | Impact on Cost |
|---|---|
| Window material (vinyl vs. fiberglass vs. wood-clad) | Fiberglass and wood-clad run higher than vinyl for the same size |
| Opening size and shape | Large picture windows or custom shapes take more time to flash correctly |
| Number of openings | Per-unit labor cost drops somewhat with volume on a full house |
| Wall height / access | Second-story and gable-end windows need scaffolding or lift access |
| Site conditions | Weather delays during wet months can affect scheduling more than cost directly |
We'll give you a real number for your specific window schedule rather than a per-window average that doesn't reflect your actual openings.
Why It Matters That We Already Work This Area
A crew that's done new-construction window installs across Whatcom County knows what the fall storm pattern actually does to a job site mid-build, knows to check flashing tape adhesion twice on cold, damp mornings when it doesn't stick as readily, and knows which elevations on a typical Lynden-area lot take the worst of the weather based on prevailing wind and rain direction. That's not something you get from a crew that mostly works inland or in a different climate and treats every region's window install the same way. We're not guessing at how this area's rain and salt air behave against a wall assembly — we've flashed openings against it season after season.
If you're framing a new build in or around Lynden and want your window openings done right the first time — sequenced flashing, correct drainage, no shortcuts on sealant placement — we're happy to take a look at your plans and give you a straightforward, no-pressure estimate using the form below.