 Semiahmoo Siding
 New-Construction Windows for Cherry Point Homes
If you're building or framing a home in Cherry Point, the windows are one of the few components that have to get everything right the first time. Once siding goes on over a bad flashing job, nobody sees the mistake again until water starts showing up on a windowsill or inside a wall cavity — sometimes years later. New-construction window installation is a different job than replacing an old window in an existing wall, and it needs to be treated that way from the framing stage forward.
We install new-construction windows for builders, general contractors, and owner-builders working in and around Cherry Point, on the Whatcom County coast near Semiahmoo. This page covers what that work actually involves here, why the local climate raises the stakes, and what separates a window that performs for thirty years from one that starts leaking before the punch-list is even signed off.
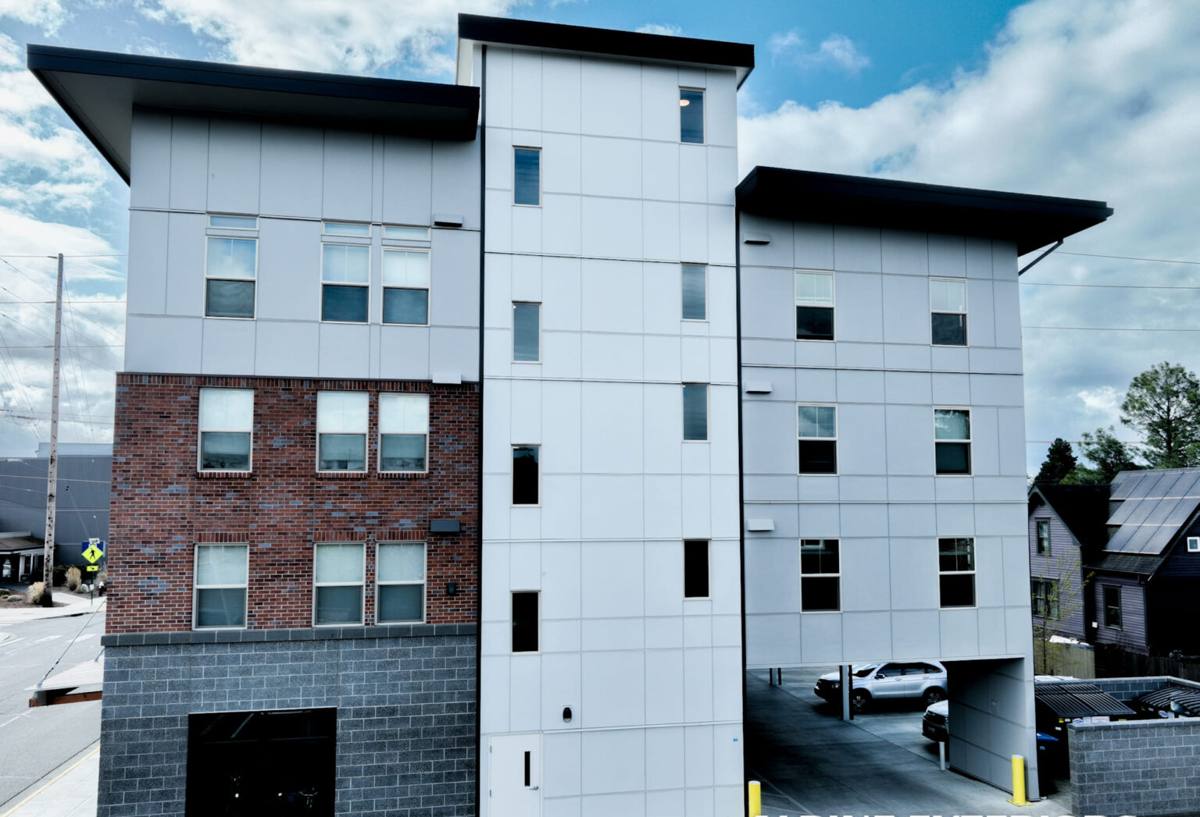
Why Cherry Point's Climate Changes the Approach
Cherry Point sits right on the water, and that proximity to the Strait of Georgia shapes almost every decision we make on a window install here. Three things matter most:
- Salt air: Airborne salt accelerates corrosion on fasteners, hinges, and unprotected metal flashing. Anything holding a window in place needs to be rated for a marine-adjacent environment, not just standard exterior use.
- Driving rain: Wind off the water pushes rain sideways, which means water is hitting window assemblies at angles a lot of installation guides don't fully account for. Flashing has to shed water outward and downward under wind pressure, not just gravity.
- A long moss season: Whatcom County's wet months stretch long, and moss and algae growth on north- and west-facing walls holds moisture against the building envelope for extended periods. That means any gap in the water-resistive barrier around a window opening stays wet longer here than it would in a drier climate, giving rot and mold more time to take hold.
None of this means Cherry Point needs exotic materials. It means ordinary steps — sill pan flashing, proper lap sequencing, sealant selection — cannot be skipped or shortcut, because the margin for error is smaller here than in a drier inland location.
New-Construction Windows vs. Replacement Windows
This is a point of confusion for a lot of homeowners and even some builders, so it's worth being direct about it. A new-construction window has a nailing flange (fin) around the perimeter of the frame that gets fastened directly to the wall sheathing before the weather-resistive barrier and siding go on. A replacement window is built without that flange, designed to slide into an existing opening where the old frame stays in place. They are not interchangeable, and using the wrong type for the situation causes problems.
| Factor | New-Construction Window | Replacement Window |
|---|---|---|
| Installed when | Before siding and WRB are in place | Into an existing finished wall opening |
| Attachment method | Nailing flange fastened to sheathing | Frame fastened through existing jamb or with clips |
| Flashing integration | Fully integrated with sill pan and WRB laps | Relies on existing flashing and sealant only |
| Best fit for | New builds, additions, full wall reframes | Existing homes keeping the current opening size |
| Long-term weather performance | Highest, when sequencing is done correctly | Good, but limited by condition of original opening |
For Cherry Point builds, we're almost always working with true new-construction units, which is good — it means we control the entire water management path around the opening rather than inheriting whatever was done years earlier.
What a Correct Installation Actually Involves
A window opening is a system, not a single product. The window itself is only as good as everything built around it. Here's the sequence we follow, in order, and why each step matters on this coastline:
1. Rough opening prep
The opening gets checked for square, level, and correct dimension before anything else happens. An opening that's out of square stresses the window frame and creates uneven gaps that are much harder to seal correctly.
2. Sill pan flashing
This is the single most important step for a wet climate like this one. A sloped, sealed sill pan under the window directs any water that gets past the window itself back outward, rather than letting it sit on the sill or run into the wall cavity. Skipping this — or installing it flat instead of sloped — is one of the most common failure points we find when we're called in to fix someone else's leak.
3. Weather-resistive barrier integration
The WRB (house wrap) has to be lapped correctly around the opening — side flanges taped over the sill pan, and the head flashing lapped over the side flanges and the WRB above it. Water has to be able to run downward over every layer without ever running behind one. Get the lap order backwards and you've built a funnel instead of a barrier.
4. Window setting and fastening
The window goes in, gets shimmed plumb and square, and is fastened through the flange per the manufacturer's schedule. Over- or under-shimming is a common cause of windows that won't operate smoothly or that develop air leaks at the corners.
5. Head flashing and sealant
A drip cap or head flashing above the window sheds water away from the top flange. Sealant is used at specific points the manufacturer specifies — not everywhere, since fully sealing a flange on all four sides can trap water that gets in rather than letting it drain back out.
6. Interior air sealing and insulation
The gap between the rough opening and the window frame gets sealed on the interior side with low-expansion foam or backer rod and sealant, closing off drafts without bowing the frame.
Choosing Windows for a Salt-Air, High-Rain Site
Frame material and hardware matter more here than in a drier, inland part of Whatcom County. Vinyl and fiberglass frames handle salt-air exposure well because they don't corrode. Aluminum-clad wood windows can work too, but the cladding and any exposed fasteners need to be a grade rated for coastal use — standard hardware can start showing corrosion within a few years this close to the water. We'll walk through frame options with you based on the specific exposure of your build — how much direct weather a given wall or elevation actually takes matters as much as the general climate.
Glass and gasket considerations
Beyond frame material, look at the weatherstripping and glazing gaskets. Cheaper gasket compounds harden and shrink faster under repeated wet-dry cycling, which is exactly the cycle Cherry Point gets for much of the year. A slightly better gasket spec now avoids an air-leak callback in a few years.
Our Process on New-Construction Projects
We work directly with builders and general contractors, and with owner-builders managing their own project, and we schedule around the framing timeline rather than asking a build to wait on us. Typical flow:
- Review plans and window schedule with the builder or homeowner before framing is finalized, to catch sizing or rough-opening issues early.
- Confirm the window order matches the schedule — a mismatched frame size at delivery is one of the most common causes of build delays.
- Install sill pans, flashing, and windows in sequence with the WRB and siding crews, so laps are done in the right order rather than patched together afterward.
- Walk the openings with the builder before siding goes on, since this is the last point anyone can visually confirm the flashing before it's covered.
- Final adjustment and operation check once the building is enclosed and any settling has occurred.
A Pre-Siding Checklist We Use on Every Job
Before siding covers the openings for good, we confirm the following on every window:
- Sill pan is sloped outward and fully sealed at the corners
- Side and head flashing laps run water downward and outward at every layer
- WRB is taped and lapped correctly over all flange edges
- Window is plumb, square, and shims are not overdriven
- Sealant is placed only where the manufacturer specifies, not on flange edges meant to drain
- Fasteners used are rated for coastal/marine exposure
- Interior gap is air-sealed without bowing the frame
This step matters because it's the last chance to catch a problem before it's hidden behind siding for the life of the building.
Timeline and Cost Factors
Every build is different, but these are the factors that most affect scope, schedule, and cost on a Cherry Point new-construction window job:
| Factor | Why It Matters |
|---|---|
| Number and size of openings | Drives labor time and flashing material quantity |
| Frame material chosen | Vinyl, fiberglass, and clad-wood carry different material costs and lead times |
| Wall exposure | Elevations facing prevailing wind and rain need more attention to flashing detail |
| Coordination with framing/siding crews | Scheduling overlap affects how efficiently the install sequence runs |
| Custom sizes or shapes | Non-standard openings usually mean longer lead times on window orders |
We're glad to walk a set of plans with you and give straightforward, honest numbers rather than a rough guess — every build's window schedule is different enough that ballpark figures aren't very useful until we've actually seen the plans.
Why Local Experience on This Coastline Matters
A crew that mostly works inland, drier parts of Washington can do a technically correct window install and still miss what this specific stretch of coastline throws at a building over time. Knowing how hard driving rain hits a given wall orientation here, how long moss and moisture sit on north-facing siding through the wet months, and how fast unprotected fasteners corrode in salt air isn't something you get from a spec sheet — it comes from doing this work in Whatcom County, on builds exposed to the same conditions yours will face. That's the difference between a window installed to code and a window installed to actually hold up here.
If you're planning a new build or addition in Cherry Point and want windows installed correctly from the framing stage forward, we're happy to take a look at your plans and talk through the details. Reach out for a free, no-pressure estimate using the form below.