 Semiahmoo Siding
 Why Birch Bay Siding Wears Differently
Birch Bay sits right on the water, and that changes how siding ages. Homes a few miles inland in Whatcom County deal with our normal Pacific Northwest rain load. Homes in Birch Bay deal with that same rain plus salt-laden air blowing straight off the bay, wind-driven moisture that gets pushed sideways into seams and laps instead of just running down the face of the wall, and a moss and algae season that runs longer here than almost anywhere else in the county because shaded, damp siding rarely gets a chance to fully dry out between weather systems.
Salt air is the part homeowners underestimate most. It's not just corrosive to metal fasteners and flashing — it also holds moisture against the siding surface longer than dry inland air does, which keeps the material in a wet state more often. Combine that with driving rain that finds its way behind poorly lapped panels or under-caulked trim, and you get a wall assembly that's working harder, year-round, than a comparable home a few miles east.
None of this means a Birch Bay home is destined for premature siding failure. It means the material choice and the installation details matter more here than they do in a low-exposure location — and it's why we treat Birch Bay siding replacements as a different job than a standard replacement, not just the same scope of work with a nicer view.
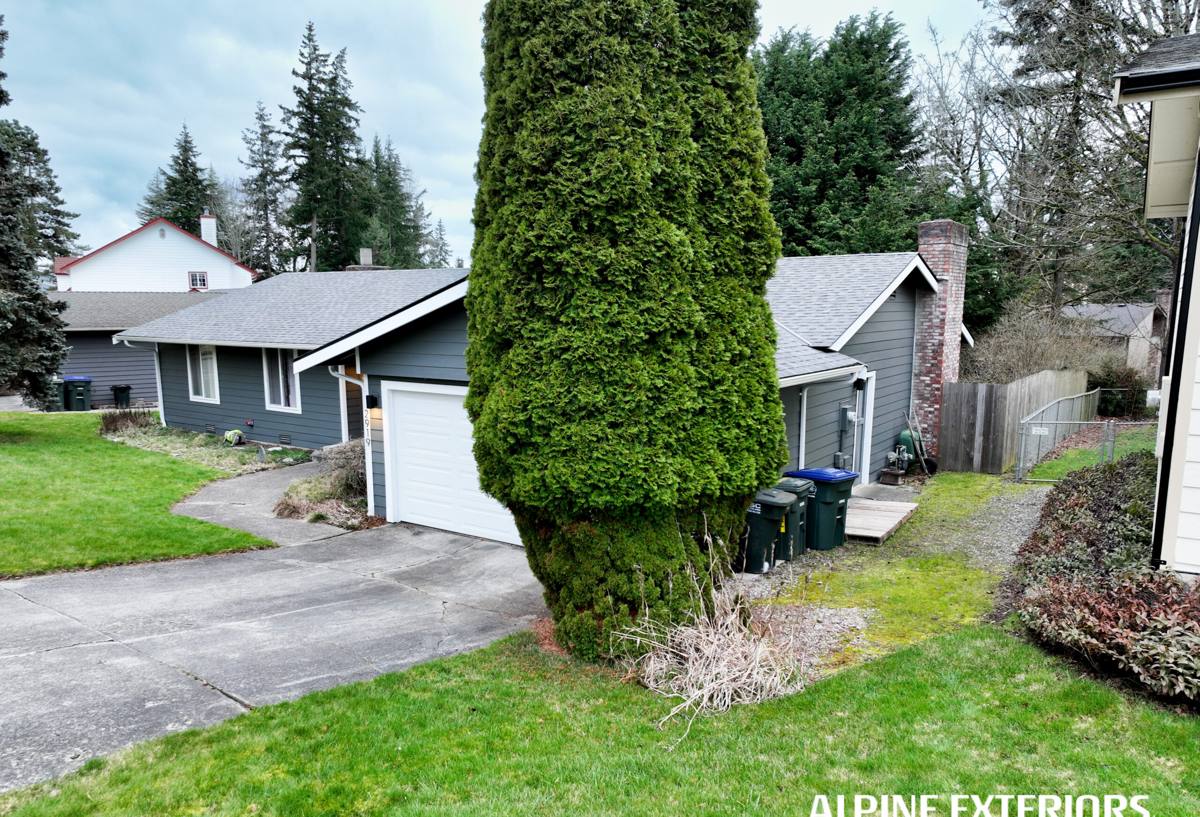
Signs a Birch Bay Home Needs Siding Replacement, Not Just Repair
Coastal exposure tends to produce a specific pattern of wear. Before assuming a full replacement is needed, we look for how far the damage has spread and whether it's cosmetic or structural.
- Soft, spongy, or crumbling siding when pressed near the bottom courses or around window and door trim
- Paint or finish that's peeling, chalking, or failing repeatedly in the same spots even after repainting
- Persistent moss or dark streaking that returns within a season or two of cleaning
- Visible gaps, warping, or cupping in panels, especially on the side of the house that takes the most wind
- Rust staining running from fasteners or metal flashing down the face of the siding
- Soft or discolored sheathing visible at outlets, vents, or trim gaps once siding is pulled back
- A musty smell in an exterior wall or noticeably higher heating bills without another explanation
One or two of these on their own might mean a repair. Several together, especially combined with soft sheathing underneath, usually mean the water-resistive barrier has been compromised for a while and a full replacement is the honest recommendation — patching over a wall that's already wet inside doesn't solve the underlying problem.
What a Correct Siding Replacement Involves
Full Tear-Off and Inspection
We remove the old siding down to the sheathing rather than installing over it. In a coastal exposure like Birch Bay, this step matters more than usual — it's the only way to actually see whether moisture has already gotten into the wall assembly, and it lets us find and fix any soft sheathing or damaged framing before it gets covered up again.
Water-Resistive Barrier and Flashing
A new, properly lapped weather-resistive barrier goes over the sheathing, with flashing detailed at every window, door, and penetration so water sheds outward instead of finding a path in. Given the driving rain this area sees, we pay particular attention to head flashing above windows and to how the barrier laps at horizontal seams — these are the two spots where sideways-blown rain most often finds a weakness.
Fastening and Clearances
Fasteners are set to the manufacturer's specified pattern and depth, not just "close enough," because a slightly overdriven or underdriven fastener is a future leak point. We also hold proper clearance between the bottom of the siding and grade, decks, or roof lines, since trapped moisture at these transitions is one of the most common causes of early siding failure on coastal homes.
Caulking and Sealant Details
Every trim joint, corner, and penetration gets sealed with an exterior-grade sealant rated for the movement and exposure involved. In a salt-air environment, cutting corners here shows up as failure within a couple of seasons rather than years.
Material Comparison for Coastal Exposure
Every siding material handles Birch Bay's combination of salt air, wind-driven rain, and moss differently. This is the same comparison we'd walk through with any homeowner in this area, and it's why we build every replacement here with James Hardie fiber cement.
| Material | Behavior in Salt Air / High Moisture | Moss & Algae Resistance | Long-Term Maintenance |
|---|---|---|---|
| Vinyl siding | Doesn't corrode, but can warp or become brittle with UV and temperature swings; seams are a moisture entry point | Moderate — smooth surface sheds moss better but algae still grows in shaded, damp areas | Low upfront maintenance, but replacement (not repair) is often the only fix once panels warp or crack |
| Cedar siding | Attractive but absorbs moisture readily; salt air accelerates weathering and finish breakdown | Poor — organic material is a natural substrate for moss and algae without regular treatment | High — needs periodic refinishing, caulking, and moss treatment to hold up here |
| Primed spruce / engineered wood | Vulnerable at cut edges and fastener points if field-sealing isn't perfect; moisture intrusion can spread under the finish | Moderate, finish-dependent | Moderate to high — installation quality and edge-sealing determine how it ages |
| James Hardie fiber cement | Non-combustible, dimensionally stable, engineered specifically for wet climates; doesn't rot or absorb moisture like wood-based products | Good, especially with a factory ColorPlus finish that resists the fading and surface breakdown that gives moss and algae a foothold | Low — periodic rinsing; finish is baked on at the factory rather than field-applied |
We install exclusively James Hardie fiber cement, using their HZ5 product line engineered for the Pacific Northwest's wet, cool climate. It isn't the only siding material on the market, but for a property taking on salt air and driving rain the way Birch Bay does, it's the one we're willing to warranty our workmanship on.
Cost Factors for a Birch Bay Siding Replacement
Every home is different, but the same handful of factors drive the price on most jobs in this area:
| Factor | Why It Matters Here |
|---|---|
| Extent of hidden moisture damage | Salt-air homes more often need sheathing or framing repair discovered during tear-off |
| Wind/rain exposure of the specific elevation | Bay-facing walls often need extra flashing detail and take more product wear |
| Trim and detail complexity | Homes with more windows, corners, and trim have more seams that need proper flashing and caulking |
| Siding profile chosen | Lap width and style affect material cost and install time |
| Access and site conditions | Waterfront and bluff-adjacent lots can affect staging and equipment access |
Our Process, Working in Birch Bay Specifically
We start with a walk-around inspection focused on the elevations taking the most weather — usually the sides facing open water or prevailing wind. We probe suspect areas rather than guessing, note where flashing and trim need attention, and give a straightforward assessment of what's cosmetic versus what points to moisture already in the wall. From there we scope the tear-off, confirm the James Hardie product line and profile that fits the home, and sequence the work around the drier windows in the local weather pattern, since a proper installation — barrier, flashing, and fastening — goes on best with dry sheathing.
Because we work this area regularly, we already know which details tend to need the closest attention on Birch Bay homes: bay-facing wall flashing, ground and deck clearances near the water, and trim sealing on the sides that catch the most wind-driven rain. That's not a substitute for inspecting your specific home, but it does mean we're not learning the local exposure pattern on your project.
Why a Crew That Already Works Birch Bay Matters
Siding installation instructions are largely the same everywhere — but knowing which of those instructions to treat as non-negotiable changes with exposure. A crew that mostly works drier, inland jobs can install a technically correct wall assembly that still underperforms on a bay-facing home, simply because the margin for error is smaller here. Consistent local experience means fewer surprises during tear-off, better judgment about which flashing and clearance details to prioritize, and a realistic sense of how the local moss and algae season will treat different products and finishes over time.
It also means straight answers. If a section of your home doesn't need full replacement, we'll say so. If it does, we'll explain what we found and why, in plain terms, before any work starts.
After Installation: Keeping It Performing
James Hardie siding with a factory ColorPlus finish needs less upkeep than wood or repainted materials, but a coastal location still benefits from a bit of attention:
- Rinse the exterior periodically to clear salt residue and organic buildup, especially on shaded or north-facing walls
- Keep gutters and downspouts clear so runoff doesn't concentrate against the siding
- Trim back vegetation that keeps a wall section shaded and damp longer than the rest of the house
- Have caulking and trim joints checked every couple of years, since sealant is the first line of defense against wind-driven rain
If your Birch Bay home is showing any of the wear signs above, or you just want an honest read on how much life is left in your current siding, we're happy to take a look. Fill out the form below for a free, no-pressure estimate.