 Semiahmoo Siding
 If you're building new in Laurel, the window install is one of those steps that either gets buried under drywall and trim looking fine for a few years, or gets buried and starts causing problems nobody notices until there's a stain on the wall below a sill. New-construction window work isn't the same trade as swapping out an old window in an existing wall, and the difference matters more here than in a lot of places, because Laurel sits in the same wet, salt-tinged, moss-prone belt of Whatcom County as the rest of the Semiahmoo area. We do this install sequence on new builds regularly and we've laid out below what actually goes into doing it right, and what a homeowner or builder should expect from the crew doing it.
New Construction Is a Different Job Than Replacement
Replacement window work happens after the wall is already built and weathered in — you're cutting an old unit out and fitting a new one into an opening that's already sealed to the house. New-construction window installation happens while the wall is still open: before siding, sometimes before the weather-resistive barrier (WRB) is even fully lapped. That means the window becomes part of the water management system for the whole wall, not just a box dropped into a hole. The flashing, the sill pan, the order the WRB layers get taped in — all of it either drains water away from the framing or traps it against the sheathing. Get that sequence wrong on a new build and you don't find out for a few years, by which point it's hidden behind siding and trim.
This is also the point where the window brand and frame type actually matter, because you're choosing what goes into the wall for the next several decades, not patching around an existing opening's limitations.
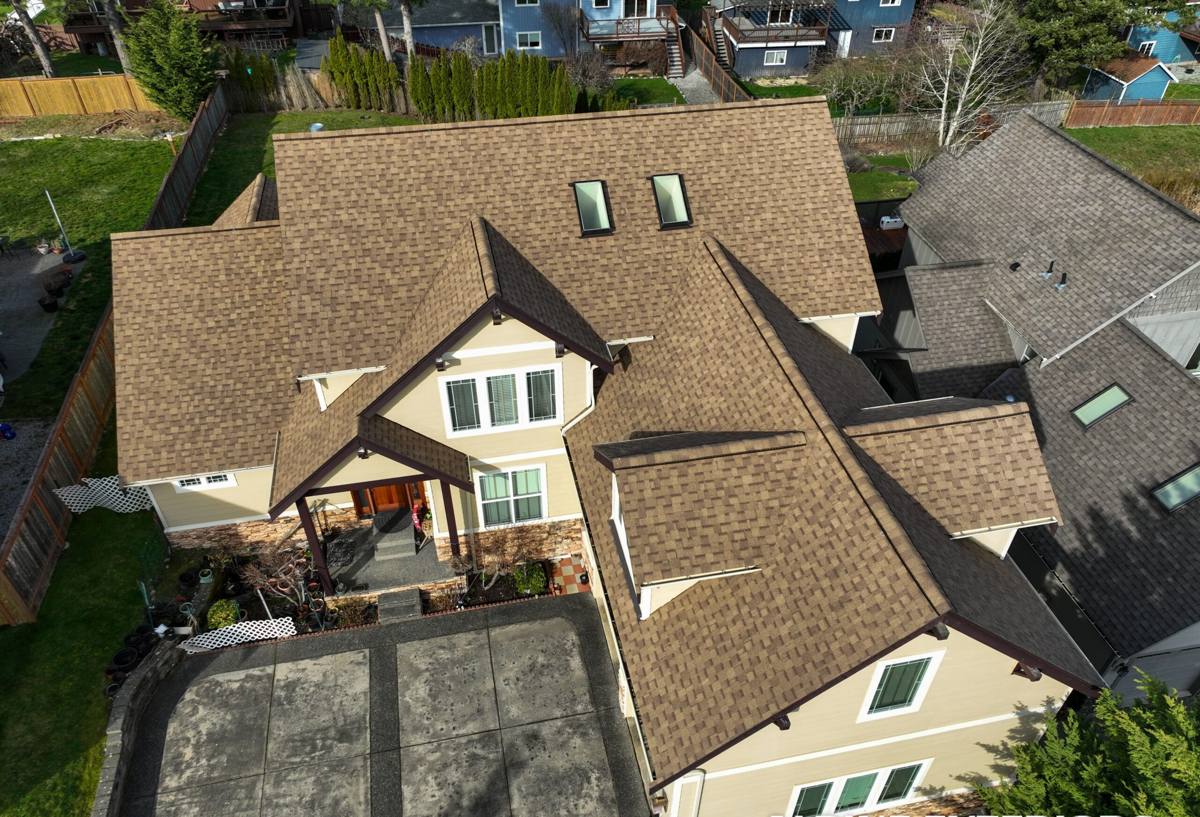
What Laurel's Climate Actually Asks of a Window Install
Laurel doesn't get anything exotic weather-wise, but it gets a steady combination of things that add up over time: salt-laden air moving in off Semiahmoo Bay and Drayton Harbor, long stretches of driving rain pushed by wind rather than falling straight down, and a moss season that runs a good chunk of the year on anything north-facing or shaded. None of these are dramatic on their own. Together, they're exactly the conditions that expose a mediocre window install faster than a dry inland climate would.
- Salt air accelerates corrosion on exposed fasteners, hinges, and cheap cladding — this shows up as pitting or white residue on hardware well before the window itself fails.
- Wind-driven rain gets pushed sideways and upward under trim and around sills, which is why sill pan flashing and proper head flashing lap order matter more here than in calmer climates.
- Moss and constant damp on shaded elevations keep wood trim and sills wet longer between dry spells, which is hard on any window material that depends on paint or sealant staying intact to stay dry.
The Installation Sequence We Follow
There's no shortcut version of this that holds up. On a new-construction opening, the sequence is what actually protects the wall, not the window unit itself. In order, a correct install looks like this:
- Rough opening checked for square, level, and correct size before the window ever shows up on site.
- Sill pan flashing installed first, sloped so any water that gets past the window drains back out, not into the wall cavity.
- WRB (house wrap) integrated with the flashing in the correct shingle-lap order — side flashing over the sill pan, window nailing fin over the side flashing, head flashing over the fin and over the WRB above it.
- Window set, shimmed, and fastened per the manufacturer's structural requirements — this isn't optional even when it slows the schedule down.
- Sealant applied only where it's supposed to go — a lot of failures come from someone sealing the bottom of the window from the outside, which traps water inside the sill instead of letting it drain.
- Interior air seal completed separately from the exterior water seal — these do two different jobs and both need to be done, not just one of them.
Skipping or reordering any one of those steps is how a window that looks perfect on install day becomes a rot problem five or ten years later.
Choosing a Frame Material for This Climate
Every frame material has trade-offs. For a new build in Laurel, we weigh them specifically against salt exposure, moisture, and long-term maintenance rather than against a spec sheet alone.
| Frame Material | Salt Air / Moisture Behavior | Maintenance | Typical Cost Position |
|---|---|---|---|
| Vinyl | Doesn't corrode or absorb moisture; hardware and reinforcement inside the frame are the parts to watch | Low — occasional cleaning | Lower |
| Fiberglass | Very stable dimensionally, resists moisture and corrosion well, holds up to salt exposure | Low | Mid to upper |
| Wood-clad | Cladding protects the exterior face, but any breach at joints or fasteners lets moisture reach wood underneath | Higher — needs sealant/finish upkeep over time | Upper |
| Aluminum | Conducts cold and is prone to corrosion pitting in salt air unless properly finished | Moderate | Varies |
We're not going to tell a homeowner one of these is "bad" — each has a legitimate place. Our standard is matching the material's known trade-offs to the exposure the window will actually see on that elevation of that house, and being upfront about what maintenance commitment comes with each choice.
Energy Performance for a Marine Climate
Washington's energy code sets minimum performance requirements for new-construction windows, and Whatcom County's mild-but-damp marine climate changes which numbers matter most. U-factor (how well the window resists heat loss) tends to get the most attention, but in a climate with long overcast stretches and moderate summer sun, solar heat gain coefficient (SHGC) is worth just as much thought — too low and the house feels cold and dark through the winter; too high and south-facing rooms can overheat on the handful of sunny days. We check both against the code minimums for the county and against how the room is actually going to be used, not just against a spec sheet number.
Coordinating With the Builder's Schedule
New-construction window installs live inside someone else's timeline — the general contractor's framing and dry-in schedule. Windows typically need to go in after the WRB is up but before siding starts, and the flashing steps above need to happen in the right order relative to whoever is doing the house wrap. On jobs where we're brought in as the window sub, we coordinate directly with the framing and siding crews so the flashing lap sequence isn't left to chance or handed off between trades who assume "someone else" is handling the transition detail. That handoff point — WRB to window to siding — is where most flashing mistakes on new builds actually happen, not inside any one trade's own work.
What to Confirm Before Windows Go In
- Rough openings match the ordered window sizes, with tolerance for shimming.
- WRB is installed and ready to integrate with window flashing, not just "close enough."
- Sill pan flashing material and method are agreed on before the crew shows up, not decided on site.
- Window schedule (sizes, U-factor/SHGC, grille pattern, hardware finish) matches what was actually ordered.
- A plan exists for who seals what — exterior water seal and interior air seal shouldn't fall through the cracks between trades.
Why a Local Crew Matters on This Job
A crew that only sees Laurel and the wider Semiahmoo area occasionally will install windows to a generic standard. A crew that works this area regularly knows which elevations take the worst wind-driven rain, which lots sit shaded enough to hold moss and damp longer into the season, and which flashing details actually hold up through a full wet season here rather than just passing a dry-day inspection. That's not a marketing point — it changes real decisions on site, like where to add extra flashing attention or which sill detail to use on a north-facing wall versus a sheltered one.
Get a Straight Answer on Your Build
If you're framing a new home in Laurel or planning ahead for one, we're happy to look at the plans, talk through window selection for the exposure your lot actually has, and give you a straightforward estimate — no pressure, no upsell script. Use the form below to get in touch and we'll set up a time to talk through your build.