 Semiahmoo Siding
 Building New in Blaine Means Building for the Coast
Blaine sits close enough to the water that salt air, wind-driven rain, and a long stretch of gray, damp months are just part of the building conditions — not an occasional inconvenience. When a home is going up from the studs out, the window installation is one of the few chances to get the moisture management right the first time. Get it wrong at rough-in, and the mistake gets buried behind siding and trim for years before anyone notices water where it shouldn't be.
New-construction windows are a different job than replacement windows, even though homeowners sometimes assume they're the same thing with a different label. On a new build, the window installs into a bare rough opening with a nailing fin, and the flashing has to integrate with the house wrap, sheathing, and eventually the siding as one continuous water-shedding system. There's no existing frame to lean on and no old flashing to inspect for clues. Everything about how that opening performs for the next 30-plus years gets decided in a few hours of careful sequencing.
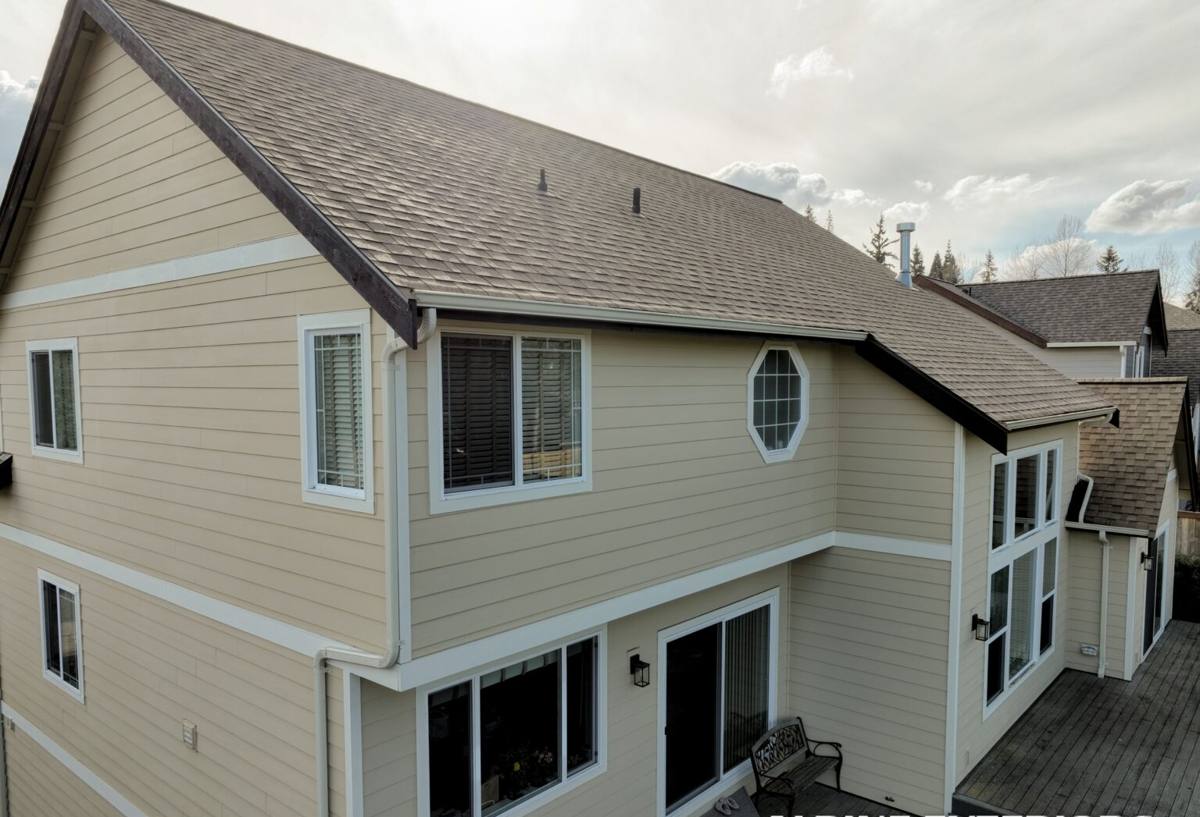
What Whatcom County's Climate Actually Does to a Window Opening
We're not describing abstract weather risk — this is what shows up on inspections around Semiahmoo and Blaine year after year:
- Salt air accelerates corrosion on exposed fasteners, hinges, and lower-grade metal flashing, and it degrades certain sealants faster than inland climates.
- Driving rain off Semiahmoo Bay and Drayton Harbor pushes water sideways into wall assemblies, not just straight down — a flashing detail that works fine in a calm-weather region can fail here.
- A long moss and algae season keeps sills, sashes, and trim damp for extended stretches, which is exactly the condition that lets minor gaps turn into rot instead of just drying out between rains.
None of this means Blaine needs exotic materials. It means the ordinary, well-documented details — sill pans, proper flashing lap order, backer rod and sealant at the right joints — cannot be skipped or rushed. Most window failures we're called to look at later trace back to a shortcut taken during the original install, not a bad window unit.
Why "It's New Construction, So It's Fine" Is a Myth
A brand-new house with a poorly flashed window opening will leak just as reliably as an old one — sometimes faster, because trapped moisture behind new sheathing and house wrap has nowhere to evaporate. New construction gives a crew the advantage of open access to do the job right; it doesn't grant immunity from bad workmanship.
What a Correct New-Construction Install Actually Involves
There's a specific sequence that has to happen in order, every time, regardless of window brand:
- Rough opening is checked for square, level, and correct dimensions before the window ever touches it.
- A sloped sill pan is installed so any water that gets past the window has a built-in path back outside.
- Self-adhered flashing tape is applied at the sill and jambs, integrated with the water-resistive barrier (house wrap) in proper shingle-lap order — meaning each layer overlaps the one below it, so water is always directed outward and down, never trapped behind the next layer.
- The window is set, shimmed level and plumb, and fastened through the nailing fin per the manufacturer's schedule.
- Head flashing goes on last, lapping over the top of the window flange and tying back into the house wrap above it.
- Interior air-sealing (low-expansion foam or backer rod, not just caulk) closes the gap between the frame and rough opening.
- Exterior sealant joints are placed only where the manufacturer's instructions call for them — sealing the wrong joint can trap water instead of shedding it.
Skip the sill pan or get the flashing lap order backwards, and the window will look correct from the outside while quietly funneling water into the wall assembly.
Choosing a Frame Material for Blaine's Exposure
There's no single "best" window for every home, but frame material does matter more here than in a drier climate. This is a general comparison, not a push toward any one product — the right call depends on the home's design, budget, and how exposed the elevation is to weather.
| Frame Material | Salt-Air / Moisture Behavior | Maintenance | Typical Fit |
|---|---|---|---|
| Vinyl | Won't corrode or rot; performs well in coastal air | Low — occasional cleaning | Budget-conscious builds, most elevations |
| Fiberglass | Very stable in moisture and temperature swings; strong long-term coastal track record | Low | Exposed sides of the home, larger openings |
| Wood-clad | Good if cladding and flashing are done correctly; the wood core is the weak point if water gets behind the clad exterior | Higher — depends on install quality and clad integrity | Interior-facing aesthetic priorities, sheltered elevations |
| Aluminum | Conducts cold and can corrode faster in salt air without a marine-grade finish | Moderate to high | Limited use residentially in this climate |
For elevations that take the brunt of wind-driven rain off the water, we tend to steer homeowners toward vinyl or fiberglass simply because there's less that can go wrong over time — fewer materials in the assembly that depend on a perfect seal to stay dry.
Glazing and Weather Rating
Beyond frame material, look for a window rated for high water penetration resistance, not just energy efficiency. A window with a strong U-factor but a weak water-resistance rating is the wrong trade-off for a home exposed to Semiahmoo Bay weather. Double-pane, low-E glazing is standard for our climate; triple-pane is worth discussing for north- and west-facing rooms that take the most wind and rain.
Our Process, Start to Finish
1. Rough Opening Review
Before any window arrives on site, we verify openings against the window schedule and flag framing issues — out-of-square openings, incorrect rough dimensions — while they're still cheap to fix.
2. Flashing and Sill Pan Installation
Every opening gets a sloped sill pan and shingle-lapped flashing integrated with the house wrap, regardless of whether the window brand's instructions treat it as optional.
3. Setting and Fastening
Windows are set level and plumb, fastened to the manufacturer's schedule — not "close enough" spacing — since under-fastening is a common cause of air and water infiltration later.
4. Head Flashing and WRB Tie-In
The house wrap above the window laps over the head flashing so water sheds down and around the opening, never behind it.
5. Interior Air Seal
Gaps between frame and rough opening are sealed with the correct low-expansion foam or backer rod — over-filling with high-expansion foam can bow window frames and cause operational problems.
6. Final Walkthrough
We check every unit operates smoothly, seals fully, and that flashing is ready for the siding crew to lap correctly against it.
Cost Factors on a New-Construction Window Project
Every quote should reflect these variables — broad ranges depend heavily on the specifics of the build:
| Factor | Why It Moves the Price |
|---|---|
| Number and size of openings | More openings and larger units mean more material and labor hours |
| Frame material | Fiberglass and wood-clad typically cost more than vinyl |
| Glazing package | Triple-pane and high-performance low-E coatings add cost per unit |
| Elevation exposure | Sides facing prevailing wind and rain warrant more careful (and time-consuming) flashing detail |
| Access and building stage | Coordinating around scaffolding, other trades, or a tight framing schedule affects labor efficiency |
Mistakes We See on New Builds in This Area
Most callbacks on newer Whatcom County homes come down to a short list of recurring issues:
- Flashing tape applied out of shingle-lap order, or skipped at the sill entirely
- No sloped sill pan — flat sills trap the first bit of water that gets past the window
- High-expansion foam used for the interior air seal, bowing the frame and causing the sash to bind
- Fasteners spaced too far apart, leaving the frame able to flex under wind load
- House wrap not properly lapped over the head flashing, creating a reverse-lap that channels water inward
Every one of these is avoidable with a crew that treats the sequence as non-negotiable rather than a checklist to speed through.
Why Hiring a Crew That Already Works Blaine Matters
A contractor who works this stretch of Whatcom County regularly already knows which elevations on a typical Blaine lot take the worst of the wind-driven rain, how long the moss season really runs, and why a flashing detail that's "good enough" somewhere drier isn't good enough here. That's not a marketing point — it's the difference between a crew guessing at weather exposure and a crew that's seen how these openings perform three, five, ten years later. We coordinate directly with builders and framers on new-construction timelines, so window installation happens at the right point in the sequence — not rushed ahead of the WRB, and not delayed so long that framing sits exposed to the weather longer than it should.
A Simple Checklist for Homeowners and Builders
Whether we're doing the install or you're vetting another crew, these are worth confirming before the siding goes on:
- Sloped sill pan installed under every window, not just a flat strip of tape
- Flashing tape applied in proper shingle-lap order, integrated with the house wrap
- Head flashing laps under the house wrap above it, not over
- Fasteners installed to the window manufacturer's exact schedule
- Interior gaps sealed with low-expansion foam or backer rod, not standard high-expansion foam
- Every window operates smoothly and locks fully before drywall goes in
If a crew can't walk you through these steps without hesitation, that's worth asking more questions about before the walls close up.
If you're planning new construction in Blaine or elsewhere around Semiahmoo, we're happy to walk through your window schedule, talk through frame and glazing options for your home's exposure, and give you a straightforward, no-pressure estimate. Use the form below to get started.